-1280x720.jpg)

Django デプロイ作業(Part.2)
この記事では「Djangoのデプロイ作業」の基本的な流れを「Virtual Box」を利用して行います。作業内容は以下の通りです。
ローカル側(開発環境側)での作業
- 「settings.py」を編集する
- 利用しているパッケージを「requirements.txt」に出力する
- Githubへプロジェクトをpushする
サーバー側(本番環境側)での作業
- Virtual BoxにRocky Linux を準備する
- DBMS(この記事ではPostgreSQL)のインストールと設定
- gitのインストールと設定
- Githubからプロジェクトをクローンする
- python仮想環境の準備
- gunicornのインストールと設定
- Webサーバー(この記事ではnginx)のインストールと設定
ローカル側(開発環境側)での作業
Githubへのプロジェクトの追加
以下の作業が済んでいる前提で記事を進めています。
Githubの登録
https://howahowablog.com/github-account-registration/秘密鍵の作成方法とGithubへの秘密鍵の登録
https://howahowablog.com/connect-to-github-using-ssh/リモートリポジトリの作成
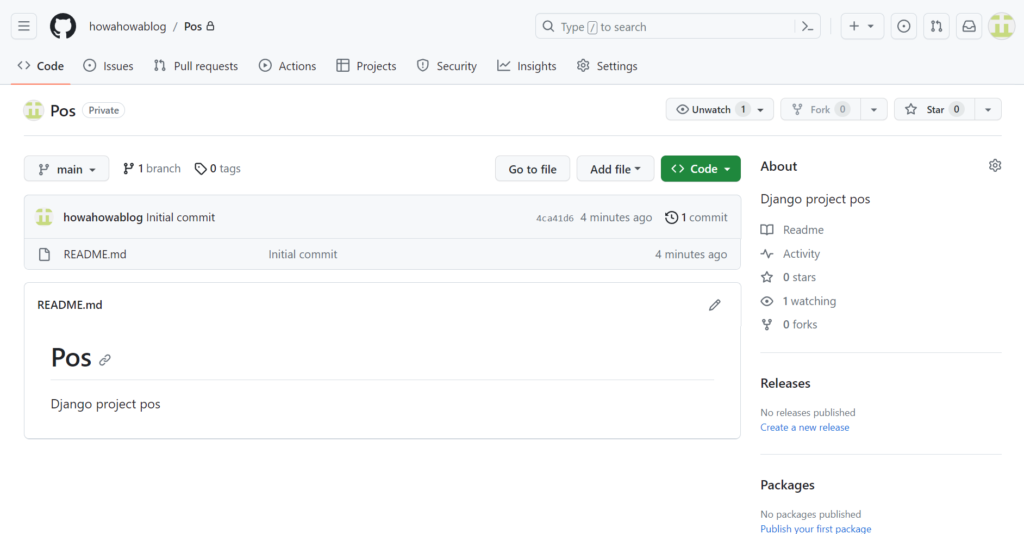
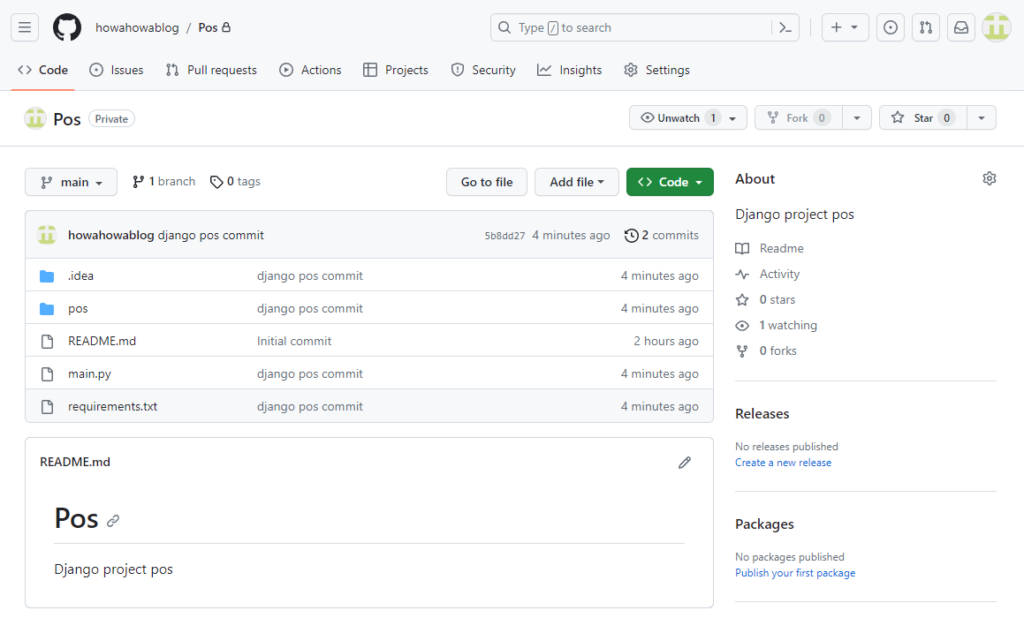
https://howahowablog.com/make-remoto-repository/今回のリモートリポジトリの名前は「howahowablog/Pos」として「Private」で作成しています。
この記事での接続状態です。

次に、git branchコマンドを実行します。「mainブランチ」が選択されていない場合は、git checkout mainコマンドを入力します。

ここまで終えたら次の2つのコマンドを入力します。
git fetch originコマンド
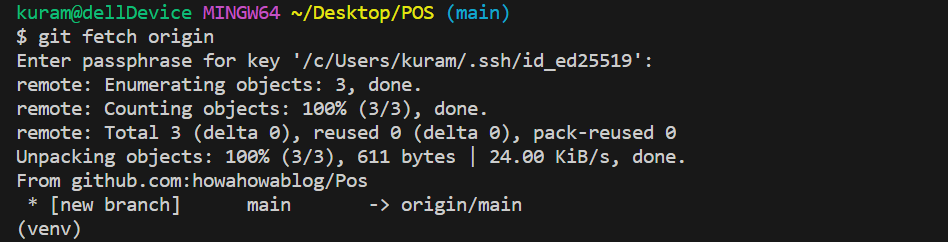
git merge –allow-unrelated-histories origin/mainコマンド

上のコマンドについては次の記事を参考にしてください。
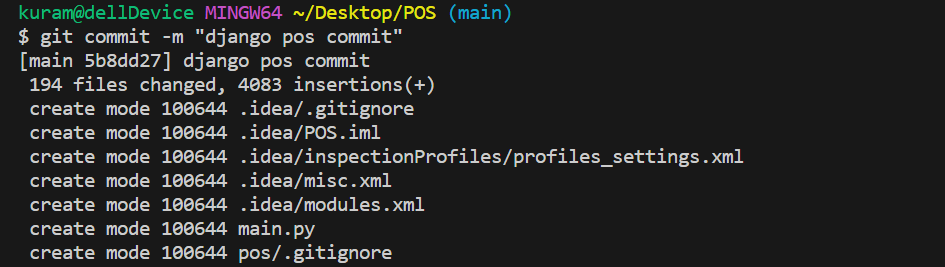
https://howahowablog.com/synchronizing-remote-repositories/git commit コマンドを利用してコミットします。
git commit -m “django pos commit”コマンドを入力
git push origin mainコマンドでリモートリポジトリへプッシュします。
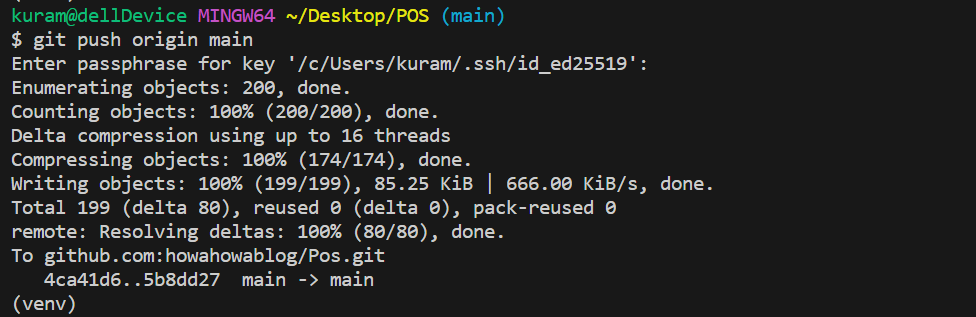
無事にpushが完了しました。
サーバー側(本番環境側)での作業
サーバー側での必要な作業は次の通りです。
- Virtual BoxにRocky Linux を準備する
- DBMS(この記事ではPostgreSQL)のインストールと設定
- gitのインストールと設定
- Githubからプロジェクトをクローンする
- python仮想環境の準備
- gunicornのインストールと設定
- Webサーバー(この記事ではnginx)のインストールと設定
Rocky Linuxの準備
VirtualBoxに、Rocky Linux 9 を準備します。この記事では「Minimal」のイメージをインストールして、Cockpitを有効化しています。また、一般ユーザーで「django」ユーザーを作成しています。
VirtualBoxのインストール方法はこちら
Rocky Linux 9のインストール方法はこちら(今回の記事ではソフトウェアの設定は標準ツールのみ選択し、ストレージ設定は自動生成で完了をしています。)
Cockpitの有効化についてはこちら
サーバ側に必要なソフトウェアは次の5つです。
- データベース(この記事ではPostgreSQL)
- git
- pythonとpython仮想環境(Rocky Linux では標準でインストールされています。)
- gunicorn
- Webサーバー(この記事ではnginx)
ソフトウェアインストール前の準備
ルートユーザーに切り替えます。
[django@localhost ~]$ su –
Password:
dnfのパッケージリストを格納したデータベースを事前に保存します。
[root@localhost ~]# dnf makecache
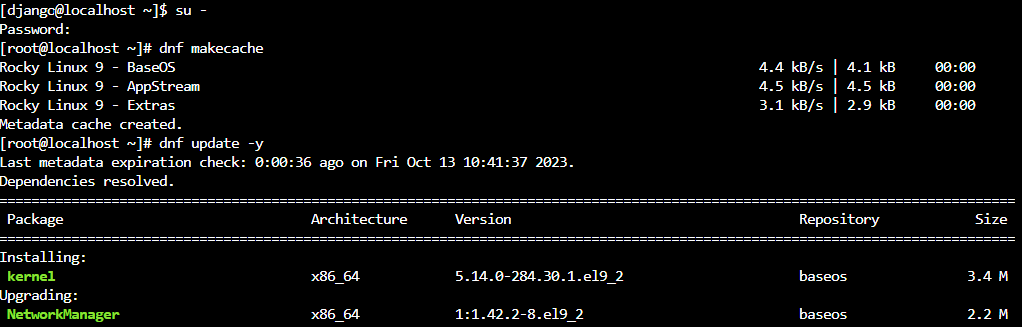
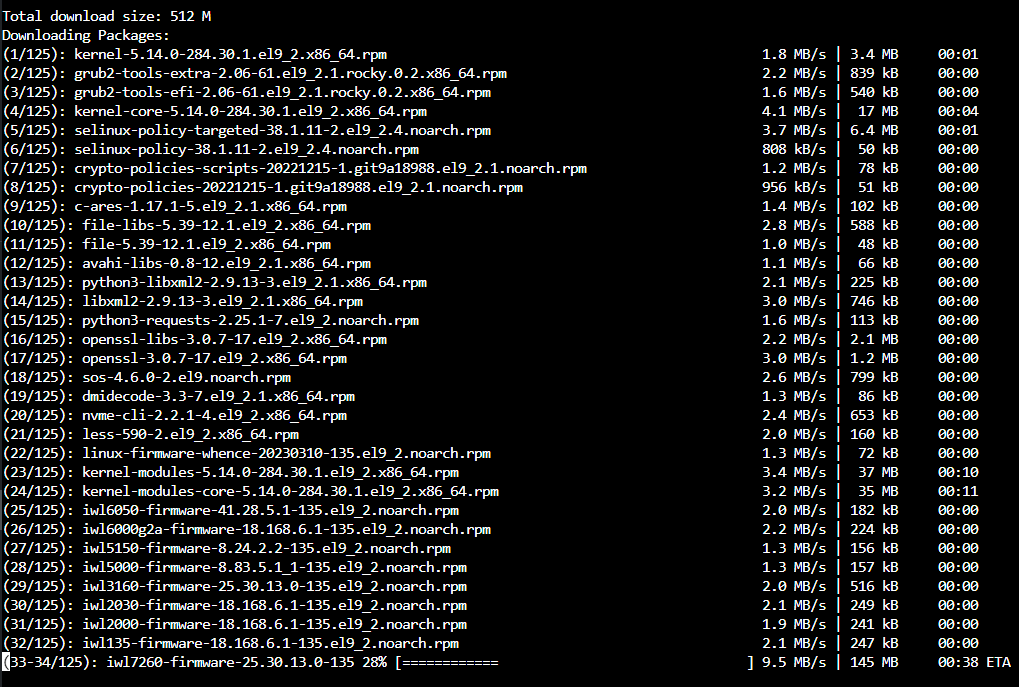
全てのパッケージをアップデートします。
[root@localhost ~]# dnf update -y
Linuxを再起動します。
[root@localhost ~]# reboot
Djangoデプロイの第2回目の記事は以上です。次回はPostgreSQLの準備からです。

ブックマークのすすめ
「ほわほわぶろぐ」を常に検索するのが面倒だという方はブックマークをお勧めします。ブックマークの設定は別記事にて掲載しています。

-640x360.jpg)
-640x360.jpg)

-640x360.jpg)
-640x360.jpg)

カスタム調査とシンジケートデータ-320x180.png)
帰無仮説と対立仮設・有意水準・P値・z検定-320x180.png)
準実験:合成コントロール法-320x180.jpg)
準実験:回帰不連続デザイン(RDD)-320x180.jpg)
準実験:傾向スコアマッチング(PSM)-320x180.jpg)